Dr. Jenny Gandhi

procedure steps

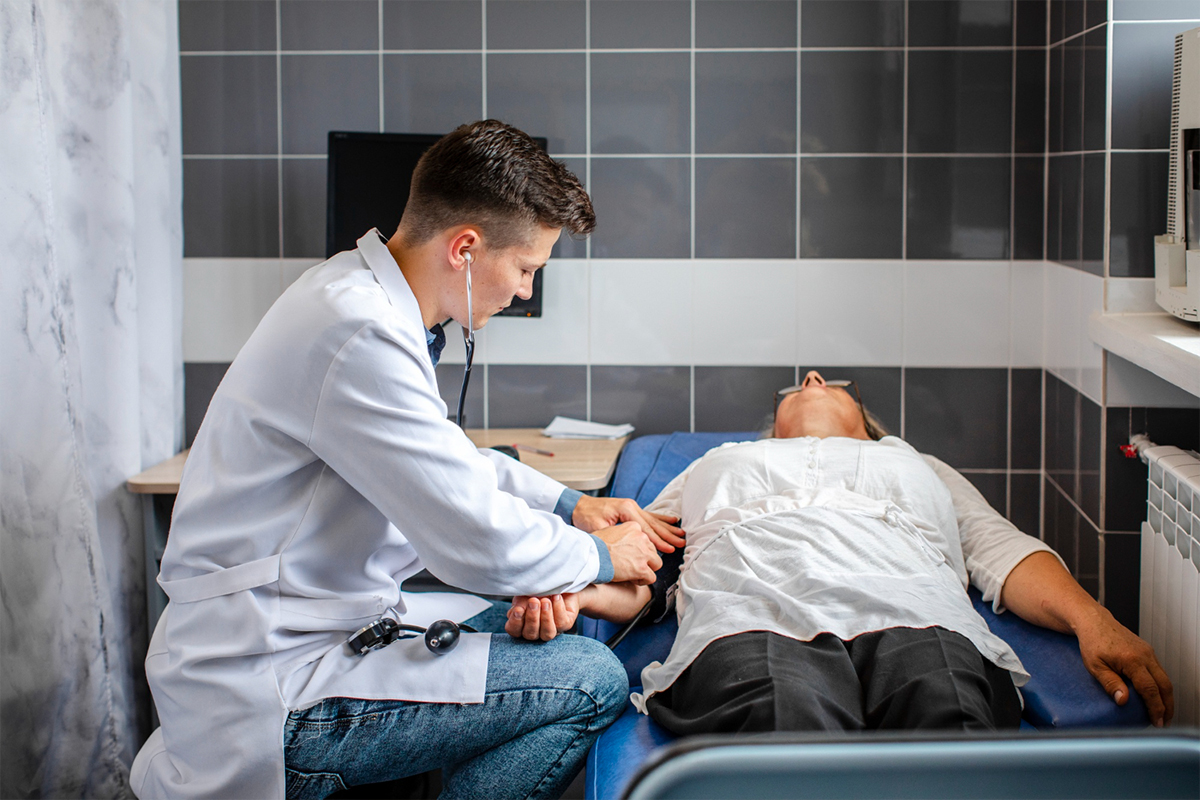
1. Positioning and Preparing the Patient

To help with fluid outflow, the patient is seated either upright or at a 45-degree angle. Cleaning and sterilization are done in the procedure area on the chest wall.

2. Anesthesia locally

To numb the insertion site, local anesthetic is injected into the skin, subcutaneous tissue, and pleura.

3. Insertion of a Needle or Catheter

To aspirate pleural fluid, a small-bore catheter or needle is placed between the ribs into the pleural space under fluoroscopic or ultrasound guidance.

4. Drainage of Fluid

To relieve symptoms, pleural fluid is gradually drained; if the patient coughs or has chest pain, the procedure usually stops. The Seldinger procedure can be used to introduce a chest tube for bigger effusions.

5. Placement of a Chest Tube

A dilator is inserted into the pleural cavity by a tiny incision and a guidewire. The wire is then withdrawn after a chest drain tube has been advanced over it and positioned correctly. Sutures are used to secure the tube.

6. Linking and Observing

To enable constant drainage and keep air out of the pleural space, the chest tube is attached to a water-seal drainage system. Imaging and clinical evaluation are used to track the position and function.

7. Procedure for Pleurodesis

After sufficient drainage, a sclerosing substance, such as talc or doxycycline, is injected into the pleural space via the chest tube if pleurodesis is planned (to avoid recurring effusions). In order to evenly disperse the agent, the patient is moved while the tube is momentarily constricted.

8. After-Procedure Care

Patients are watched for discomfort, respiratory status, and problems while the drain site is wrapped and the line is fastened. Once drainage is low and imaging confirms lung growth, the chest tube is withdrawn.

disease treated

Ascites Or Pleural Effusion

Lorem Ipsum is simply dummy text of the printing and typesetting industry.

suitable for

Refractory or Recurrent Ascites

Peritoneal catheter implantation is the best option for patients with recurrent or refractory ascites brought on by cancer, liver cirrhosis, or other conditions that necessitate frequent draining for symptom relief.

Relief of Symptoms in Advanced Illness

It is appropriate for individuals with end-stage liver disease or advanced cancer who have severe discomfort, distension in the abdomen, trouble breathing, or early satiety due to ascitic fluid accumulation.

The necessity of home-based management

Tunneled indwelling peritoneal catheters are beneficial for patients who need or prefer to treat ascites at home in order to avoid invasive procedures and recurrent hospital stays.

Unsuitable for Repeated Paracentesis

This method is appropriate for patients in whom repeated large volume paracentesis is impractical, inefficient, or linked to problems including bleeding or infection.

Getting Ready for Abdominal Interventions

used prior to procedures such as liver biopsy or TIPS to maximize ascitic fluid outflow.

benefits

Comfort and Symptom Relief

Ascitic fluid can be drained continuously or intermittently thanks to the catheter, which quickly relieves symptoms including breathing difficulties, discomfort, and distension in the abdomen.

Management from Home

By enabling patients to control fluid drainage at home, it lessens the need for invasive large volume paracentesis and recurrent hospital stays.

Enhanced Life Quality

Patients have better appetite, mobility, and quality of life with fewer hospital admissions when ascites build-up is adequately controlled.

Decreased Risks Associated with Procedures

Indwelling catheter drainage lowers the risks of infection, hemorrhage, and protein loss associated with many punctures when compared to repeated paracentesis.

Enables Continuous Management

beneficial for individuals who need long-term fluid management due to intractable ascites, particularly those with severe liver disease or cancer.

Increased Self-Sufficiency

The timing and volume of drainage can be adjusted by patients or caregivers, providing flexibility based on symptoms.

post-treatment recovery

First Healing Phase
It typically takes 10 to 14 days for the catheter insertion site to fully heal.
To lower the risk of infection, patients should refrain from bathing or swimming during this time, and the area should be kept dry and clean.
Anguish and Pain
For a few days following implantation, little pain or soreness around the catheter site is typical and usually treatable with over-the-counter painkillers.
Catheter Maintenance & Observation
Patients are given comprehensive instructions on how to take care of their catheters, including how to change dressings, how to clean them, and what symptoms to look out for while they heal.
Go Back to Your Activities
In order to allow the site to heal, patients are recommended to refrain from heavy lifting and vigorous exercise for a few weeks after the treatment, although they can usually return to light everyday activities within a few days.
Improvement of Symptoms
After drainage starts, patients frequently have immediate relief from ascitic symptoms like discomfort and distension in the abdomen, which enhances their general quality of life.
Follow-up
To monitor catheter function, guarantee appropriate healing, and quickly address any issues, routine follow-up is required.

Schedule Your
Consultation Today!